In some places, the weather is quite extreme. For example, in some places the heat is so high that it’s possible to cook an egg on the pavement. On the other hand, some places are so cold that the water freezes inside the pipes. In those cases, good insulation is necessary to keep your home and family protected.
Garage door insulation prevents thermal interaction between the interior and exterior. Insulators let air to pass through their fibers to dissipate heat during the summer. They also prevent warm air from escaping outside during cold winters.
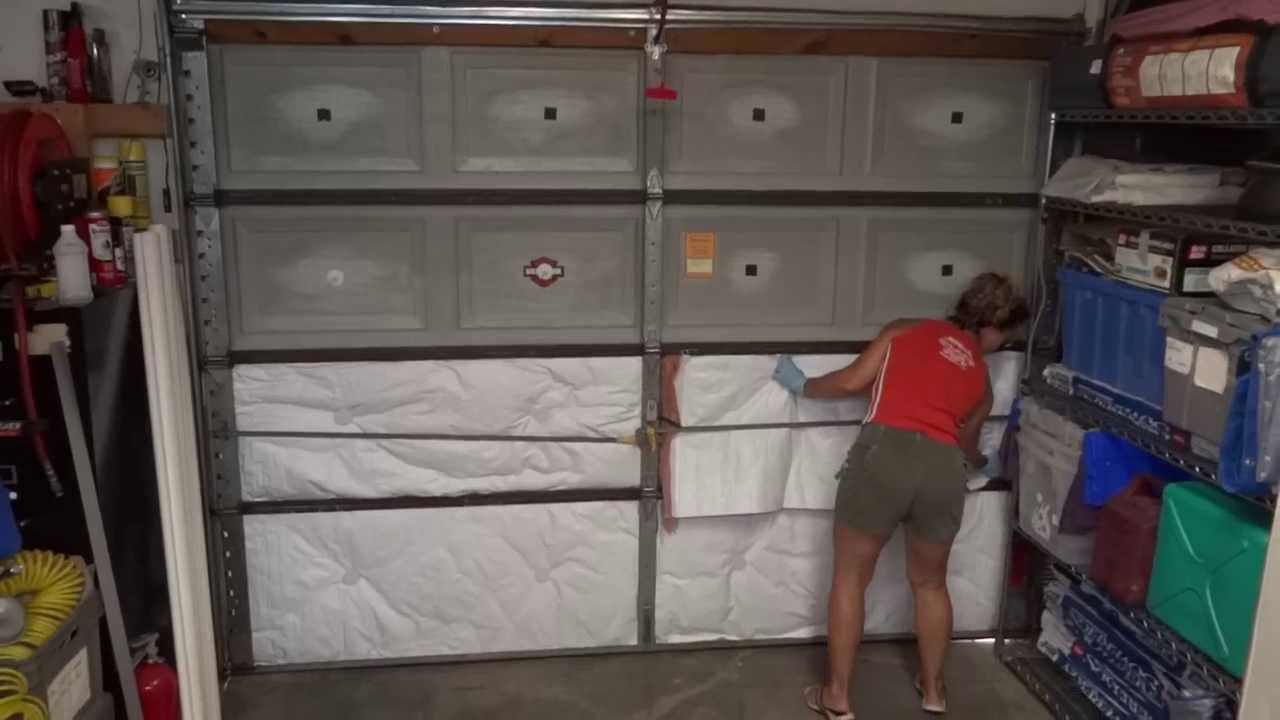
Installing garage door insulation is so easy that you don’t need someone else’s help to do it. In this article, you’ll find an detailed guide to learn how to install garage door insulation like a pro.
What is Garage Door Insulation?
It’s a coating applied on garage doors. It dissipates high temperatures during the summer. It also prevents warm air from escaping during the winter. All garage door insulation materials have a certain R-value. The higher this number, the greater the efficiency of the material as insulator.
Usually, the thicker and more porous the insulator, the better. However, the thicker the insulator, the greater the weight added to the garage door. This fact could affect the mobility of the garage door if the opener isn’t powerful enough.
The most used materials for garage door insulation are:
- Polystyrene
- Polyethylene
- Polyurethane
- Fiberglass
These four materials are lightweight, durable, and resistant to high temperatures and fire. Usually, you can find these insulators in the form of sheets or batts. Some of them are covered with vinyl or aluminum foil to increase their efficiency.
Among all insulation types, polyurethane rigid panels are the best of all. These panels have an R-value per inch of 7-8. They’re very dense, so they aren’t as easy to cut as other materials. In addition, their cost is quite high in contrast to other insulation materials.
Garage Door Insulation Install Kit List
As said before, most garage door insulators include a complete installation kit. Below, you’ll find a list of all the different items included in these kits:
- Insulation panel or batts
- Fasteners
- Plastic squeegee
- Utility knife
- Foam tape
- Installation manual
Step by Step Guide to Install Garage Door Insulation
To install garage door insulation in an easy and quick way, you just need to follow these steps:
- First of all, open the package and unroll the panels on a flat surface.
- After that, use a measuring tape to determine the midpoint of each panel on your garage door. Mark each midpoint on the garage door with a pencil.
- Then, cut the foam tape included with the product into square portions. Then glue a tape portion at each midpoint over the garage door. Apply enough pressure on each portion to guarantee good adhesion.
- After that, attach a retaining clip on each tape portion.
- Measure the height and width of each garage door panel with a measuring tape.
- After that, cut each insulation panel to fit each garage door panel. To do this, use a steel ruler and a utility knife.
- Install each insulation panel on the garage door. If you’re using fiberglass panels, face the uncovered side against the door.
- Then, make an X cut at each point where a panel touches a retaining clip. Push the panel against the door so the tip of the retaining clip penetrates the panel.
- Finally, insert the top side of each retaining clip to secure each panel in place.
Conclusion
As you can see, covering an entire garage door with insulation panels is too easy and won’t take more than 1 hour. Make sure to cut each panel to the correct size. If make a mistake, the insulation panels won’t fit perfectly into every door section.
Don’t forget to wear protective glasses and a face mask if you’re working with fiberglass. This material tends to release small fibers into the air that can affect your nose and eyes. Also, don’t leave fiberglass portions exposed to the air. Wear sturdy work gloves to avoid cuts when using the utility knife. In case of any doubt during, consult the recommendations in the user manual.


