
Suitable gate hardware may define the security of any area and can also define how easy everyone will circulate through some spaces. Many people think that installing them is one of those things that can be easily done. It might be true at some point, but only knowing how to install a gate properly guarantees that your gate looks and works at its best.
Gate Hardware Installation Process
Here we offer you a short list on how to install gate hardware no matter what style or design you choose. they all share basic features that need to be considered if you decide to do it yourself.
1. Get Ready to Install
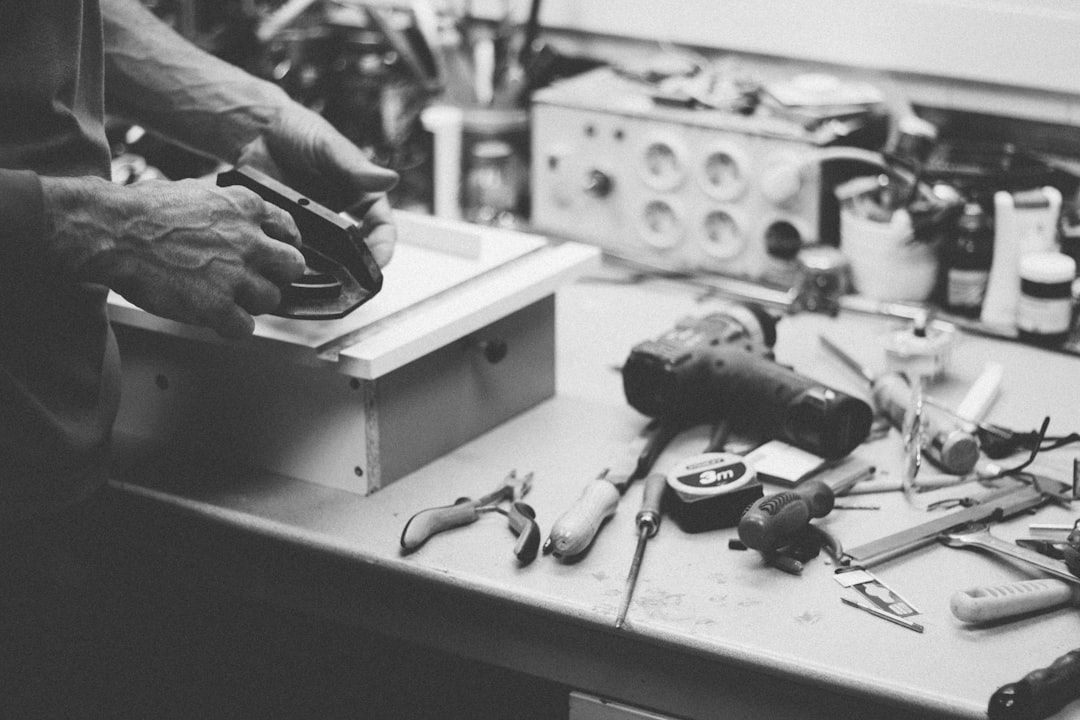
Getting ready to install includes finding and putting at hand all the materials you will need such as screwdrivers, drills, measurement tape, hammers, and the complete gate hardware kit. It is common that many hardware kits include their own instructions. If so, check them before starting the installation and make sure you understand them.
2. Check Left or Right Gate?
Most hardware gate kits can be installed on both sides. It is only necessary to rotate the piece to make sure it matches the proper side. Make sure you decide the proper side before you start the installation.
3. Remove the Old Hardware
If you are replacing the old hardware for new pieces, you will have to remove the old ones. Make sure you do it carefully to avoid damaging the surface where they were installed. If you observe any damage or crack on the surface after removing it, it is a good time to repair it or paint it if necessary. Having an even surface will ease your job to install the new hardware.
4. Take Good Measurements
Taking the exact measurements is a critical point. Gate hardware requires that pieces set on the door and the post, match perfectly. Draw accurate alignment markers and re-check them as many times as possible to make sure they match.
For instance, gate latches require specific distances between the door and the post. As fence gates are usually heavy and big, they might require wider distances. However, baby gates require the minimum distance between the door and the post. On the other hand, hinges might require that they are installed at a certain height to allow that gates swing properly.
5. Pre-drill the Holes
With the alignment marks previously set, you must predrill the holes on the gate and the post. It will ease the installation. Use a drill bit of the same size of the holes of the pieces. Notice that the size of the holes may vary according to if it is the piece that goes in the gate or the post. For instance, in latches, the holes of the striker bar and the gravity bar may differ.
6. Install the Hardware
Proceed to install the hardware by putting the pieces in place and adjusting the screws. You can do it manually or with the help of a drill it this function is available. Before you make the final adjustment, check that the pieces from both sides fit well.
After you adjust them, it is a good idea to try and use the gate for a while to verify it works properly. As you have all the tools at hand you will be able to make any adjustment at the moment.
Now Your Turn
Learning how to install gate hardware is easy if you have all your tools at hand and follow the necessary steps. By choosing the right side, taking good measurements, and pre-drilling the holes, you will take the easy way to a perfect installation.